 DREAMHILL
DOME PROJECT
Painting & Sealing
Surface Preparation included scraping and grinding off cement debris
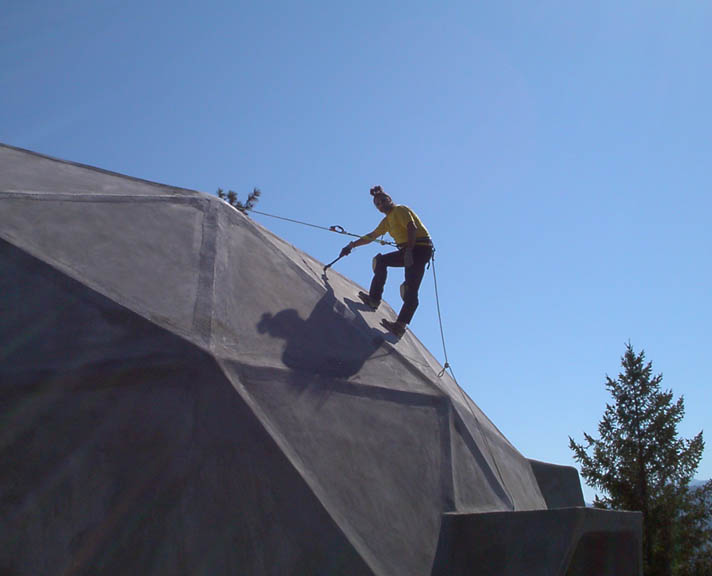
And brushing off the dome
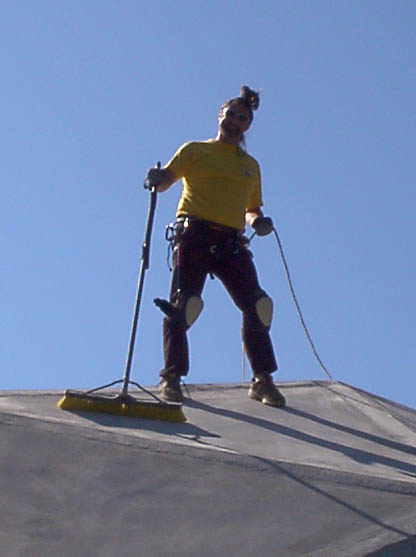
The Dome Painting Job
Rich Cassidy on the rope harness and Eric comes to assist again on the right giving some experienced rope climbing advice
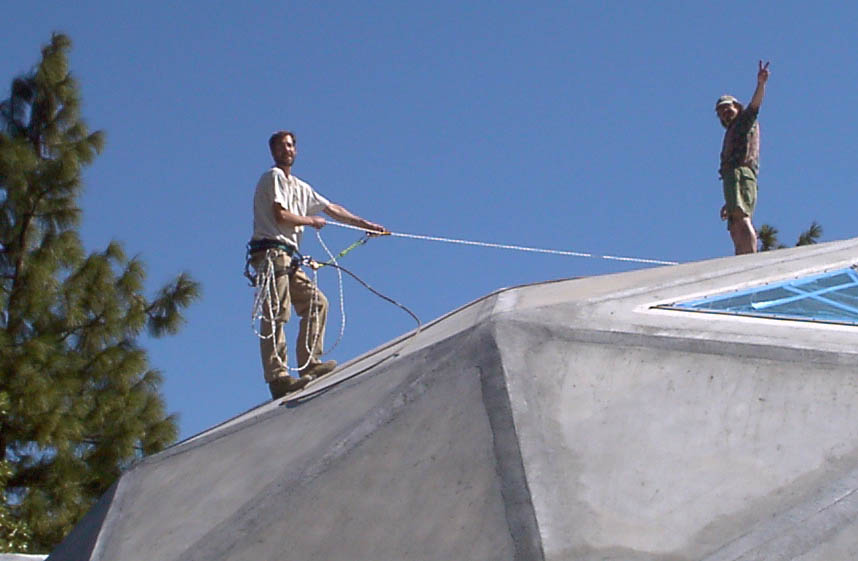
Below Rich operates the sprayer while Joe does the back rolling and John mans the paint pump
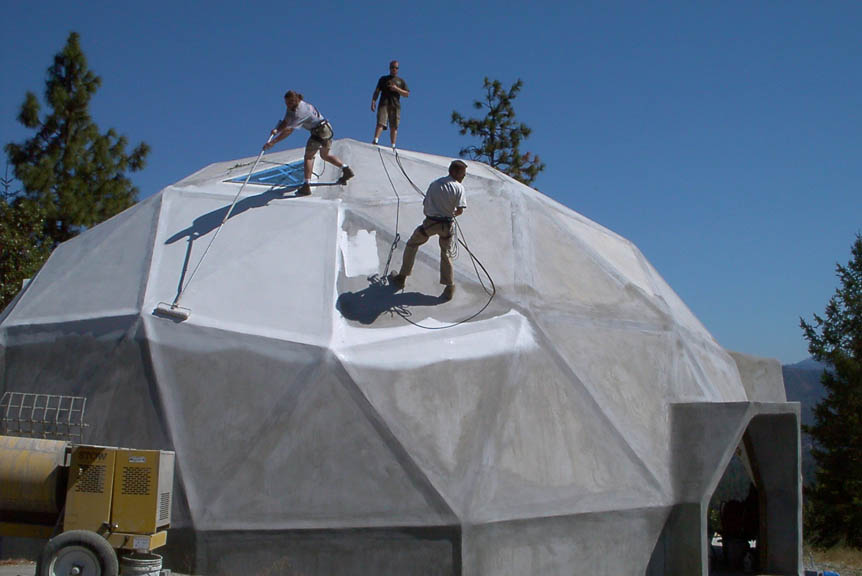
Triangle by triangle they work thier way around the dome on each level
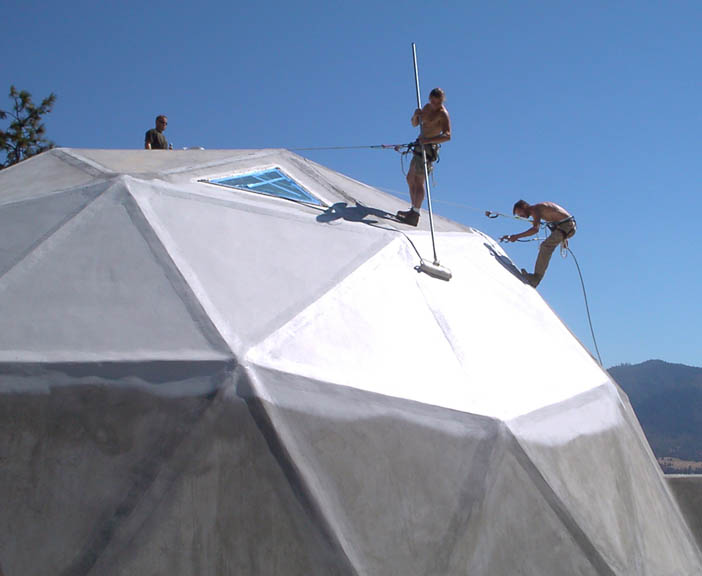
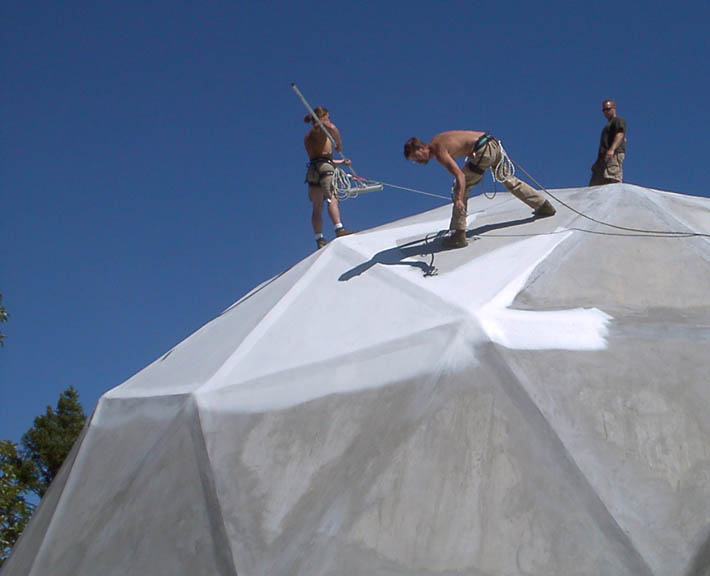
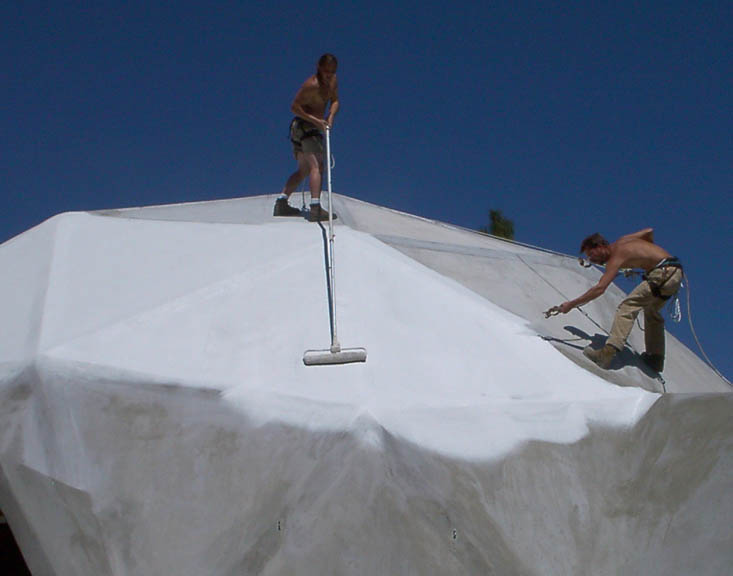
After completing the upper 3 levels the lower level is then painted
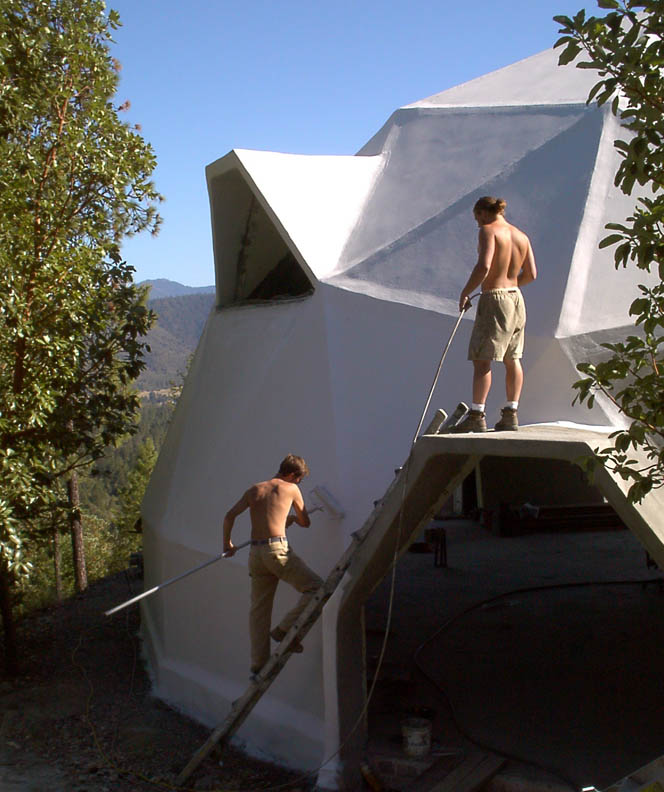
There are 4 triangular levels of the dome shown here highlighted with different colors
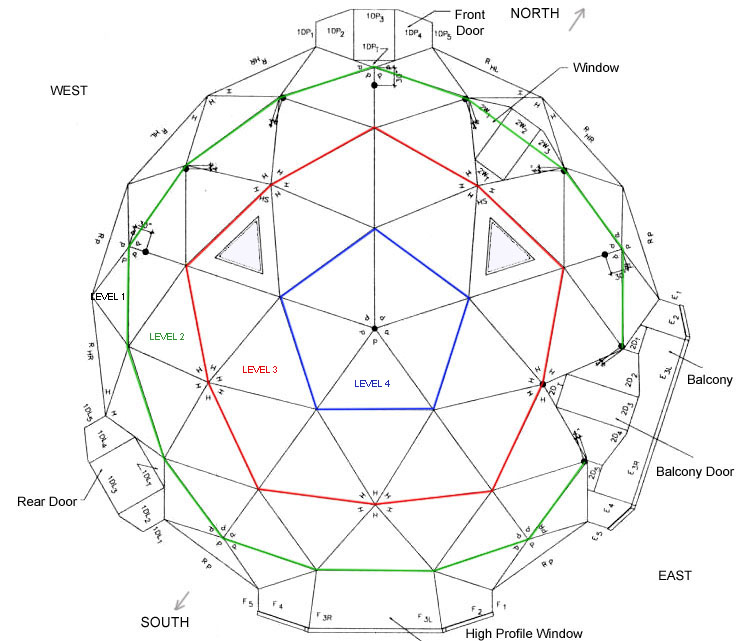
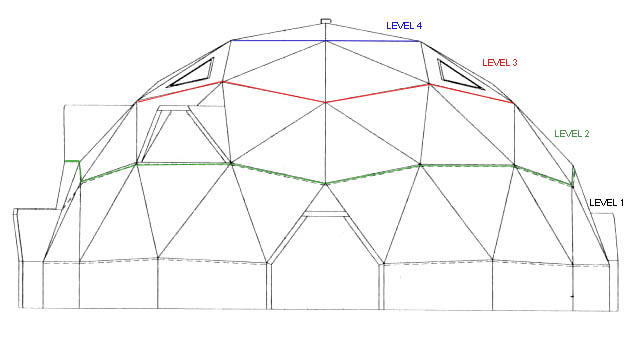
Painting Plan
The path of painting the upper 3 levels is illustrated below.
Note dark areas indicate areas that are painted last moving down the ladder
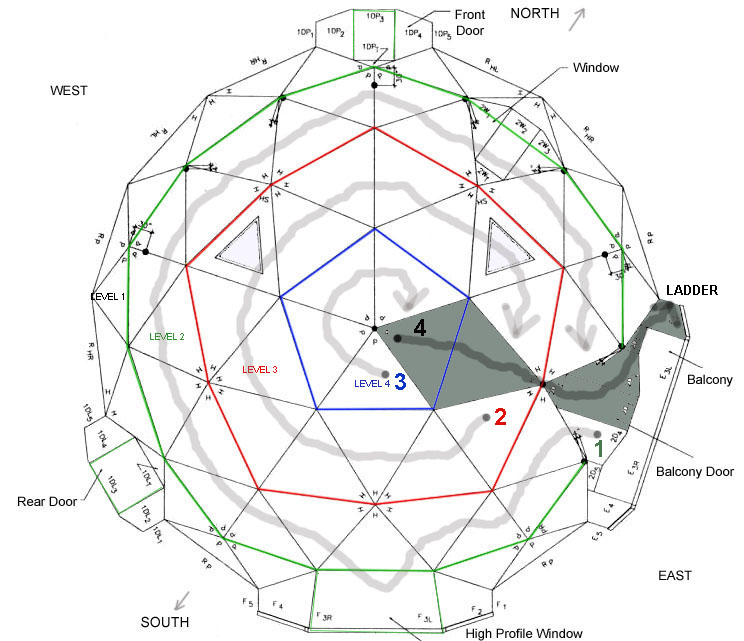
1. Starting from the top accessed by ladder on right side of balcony using rope and harness have 50 foot paint hose feed through pipe at top of dome to paint pump below in dome. Start at one side of ladder paint the seams and triangles of level 2 all the way around to the other side of ladder. When painting level 3 paint the tops of the dormers that are connected to those triangles.
2. Once level 2 is painted coil up excess rope so it doesn't drag on the painted triangles on level 2 and paint starting at the ladder level 3 all the way around to the other side of the ladder.
3. Once level 3 is painted coil up excess rope and drop it down pipe hole at the center to get it out of the way of painting level 4 and paint starting at the ladder level 4 all the way around to the other side of the ladder then paint the unpainted path back down the ladder, collapsing the ladder to allow the area underneath the ladder to be painted all the way down to level 1.
4. Once the upper levels of 2, 3 and 4 are painted, use a ladder to move around the dome and paint level 1 all the way to the ground, masking off areas such as the porch and exposed concrete floor to keep unpainted.
The above procedure is for first sealing the dome with concrete primer and allowing to dry overnight and then the same sequence is used to apply the Lexan paint afterwards the next day. Painting is done in the afternoon allowing the dome to cool after painting to avoid air bubbles from increasing heat.
Paint Specifications
Sherwin Williams
Mindful Grey SW 7016
100% Arcylic Super Paint Satin Finish
Cement Primer
Loxon 824W300 (aidome
recommendation)
Loxon Block surfacer White (Rob from SW recommendation)
| Sherwin-Williams Order 8157-0033101 Exterior Specialty CONFLEX XL ELASTOMER/ACRYL SMOOTH STANDALONE MC-15071 SW 7016
FIVE GALLON EXTRA WHITE |
Above Elastomeric used for seams did not match the latex color and does not come in satin finish
Below is a color match from a cement paint sample which I'll use to paint over the existing elastomeric paint
Sherwin-Williams Order 8157-0044211 Exterior Architectural MC-18659
FIVE GALLON EXTRA WHITE |
Sealing the dome with silicone
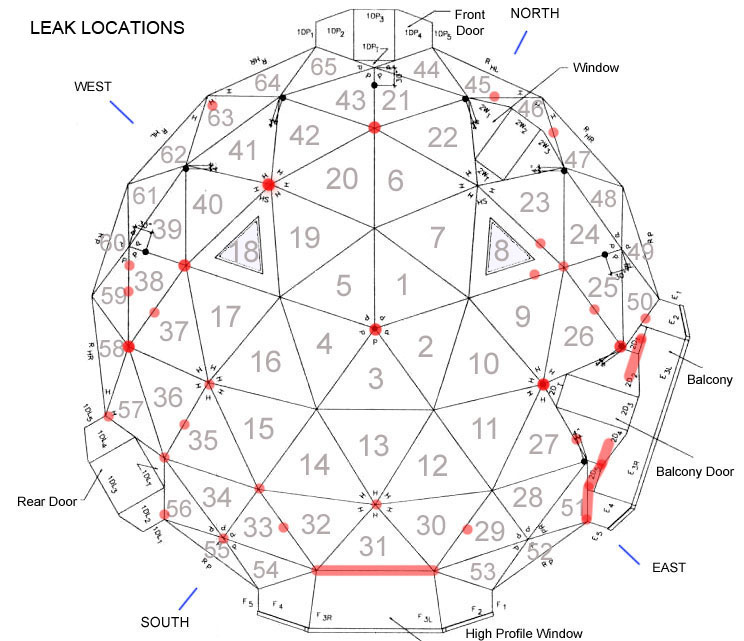
After more than a decade of multiple water leaks coming through the concrete we have been searching for a solution
Map showing all the multiple leaks
Finally we found a local company that was able to give us a coating with a "10 Year Water Tight Warranty"
The company Hoag Roofing and it's workers did a fantastic job.
Below you can see after pressure washing the dome applying a two part expoxy primer.
This
is done for optimal adhestion for the final silicone coating called EVER-SILIC® HS which is a single-component
pure elastomeric silicone coating system that provides superior weatherproofing and UV resistance.
Applying a two part pink expoxy primer
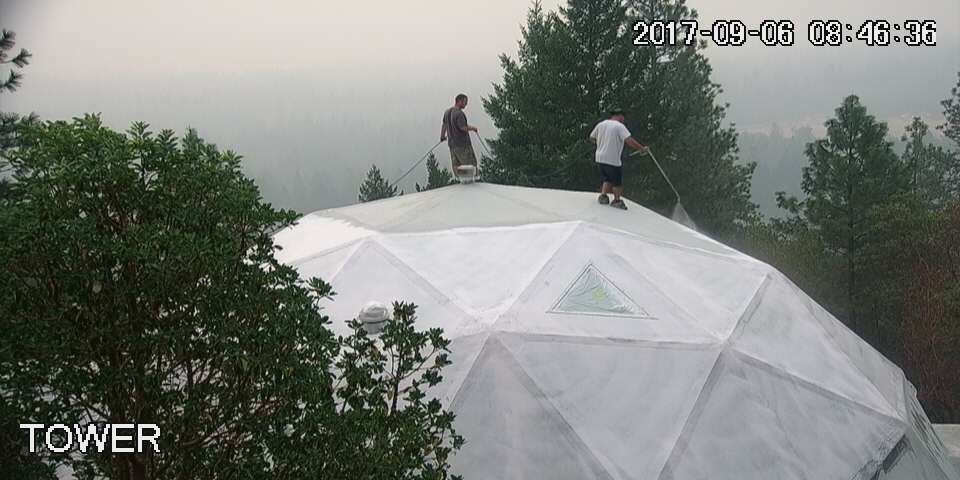
Applying the glossy white elastomeric silicone coating
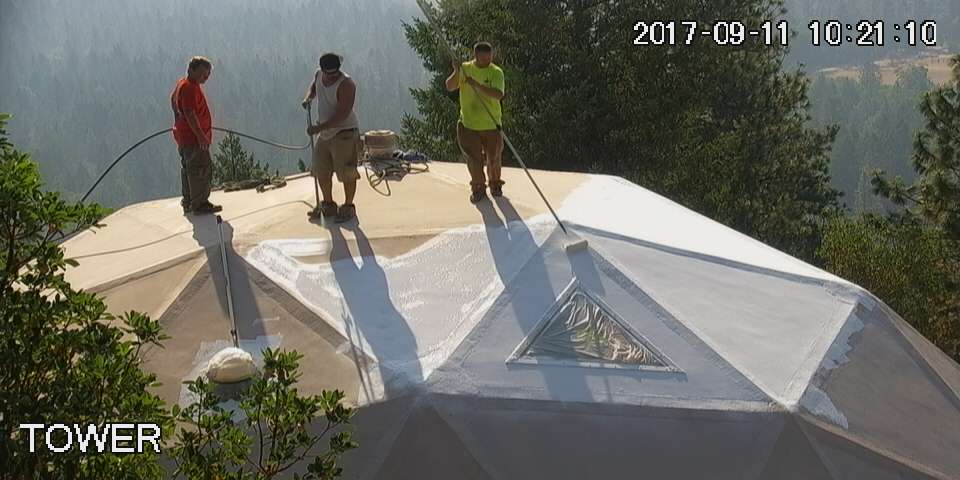
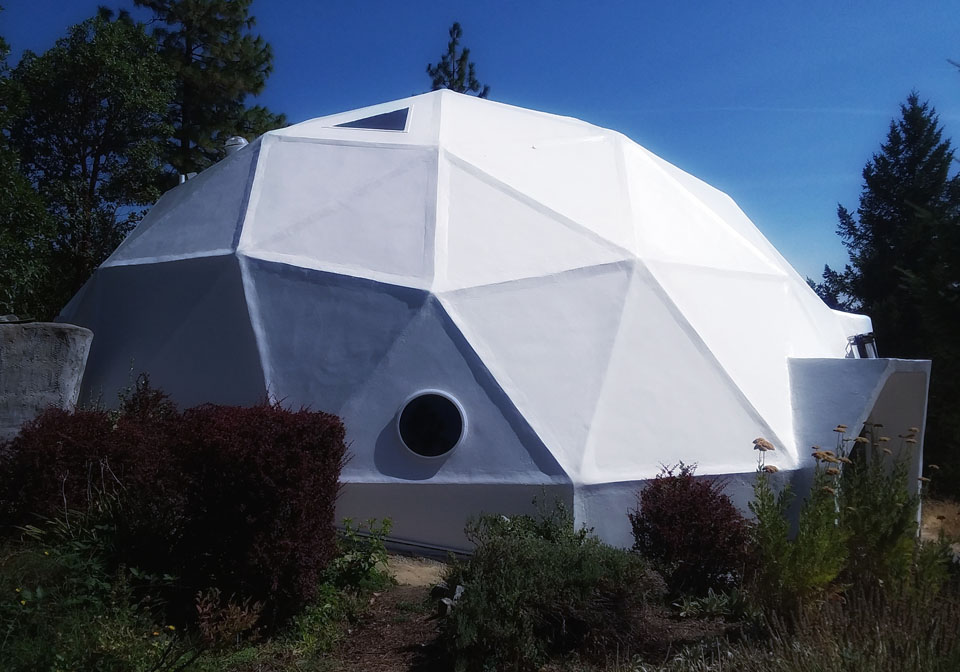
The final result with two coats of glossy white elastomeric silicone
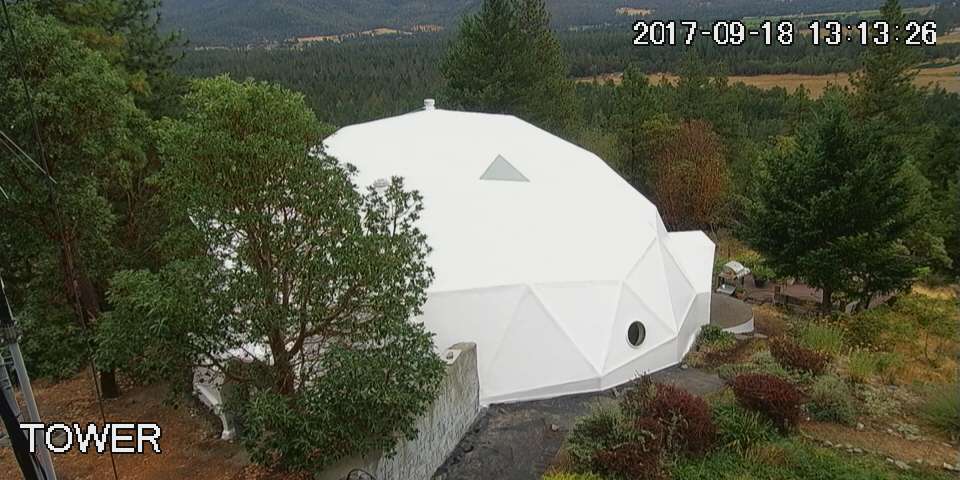
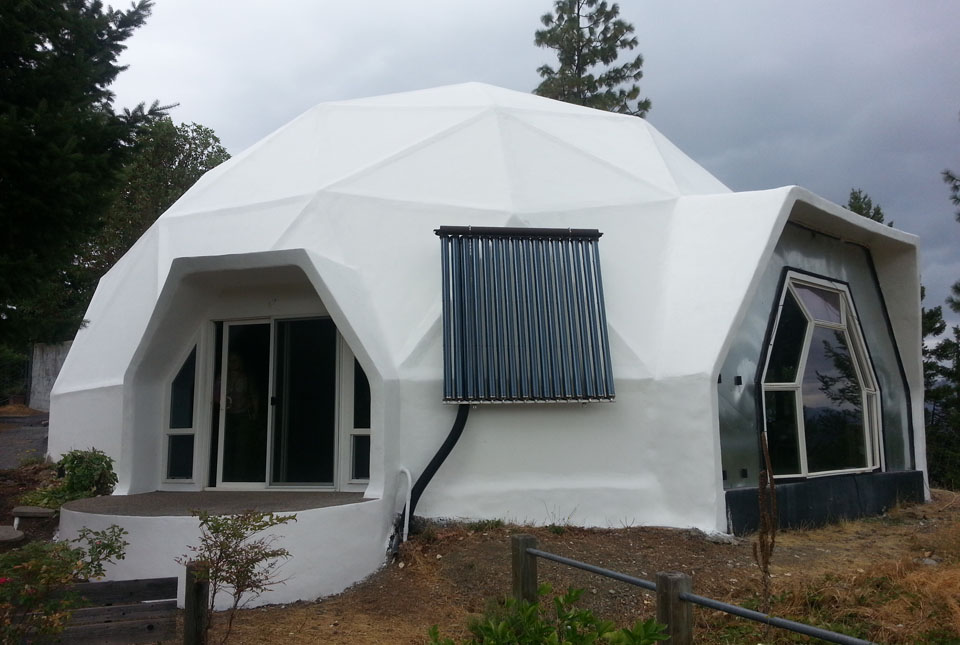
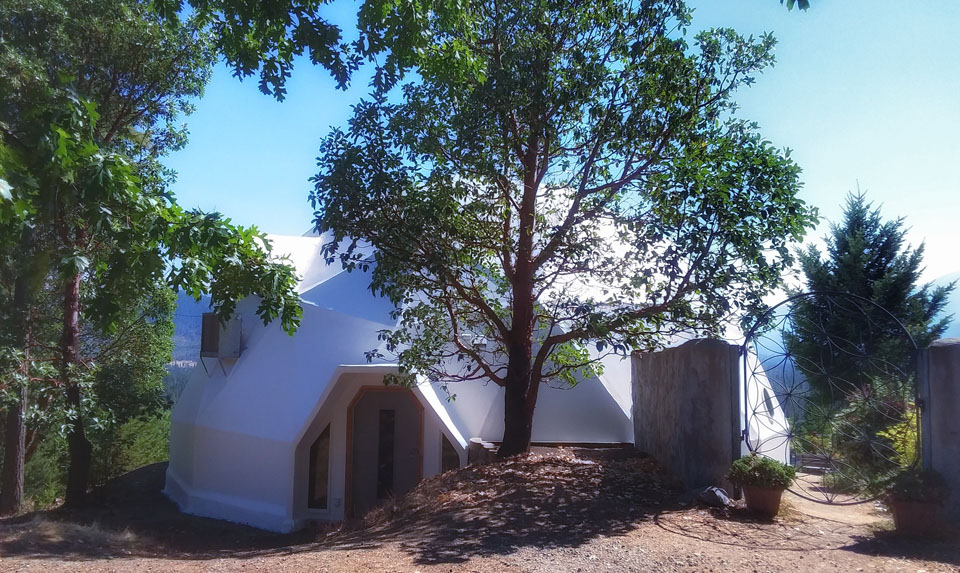
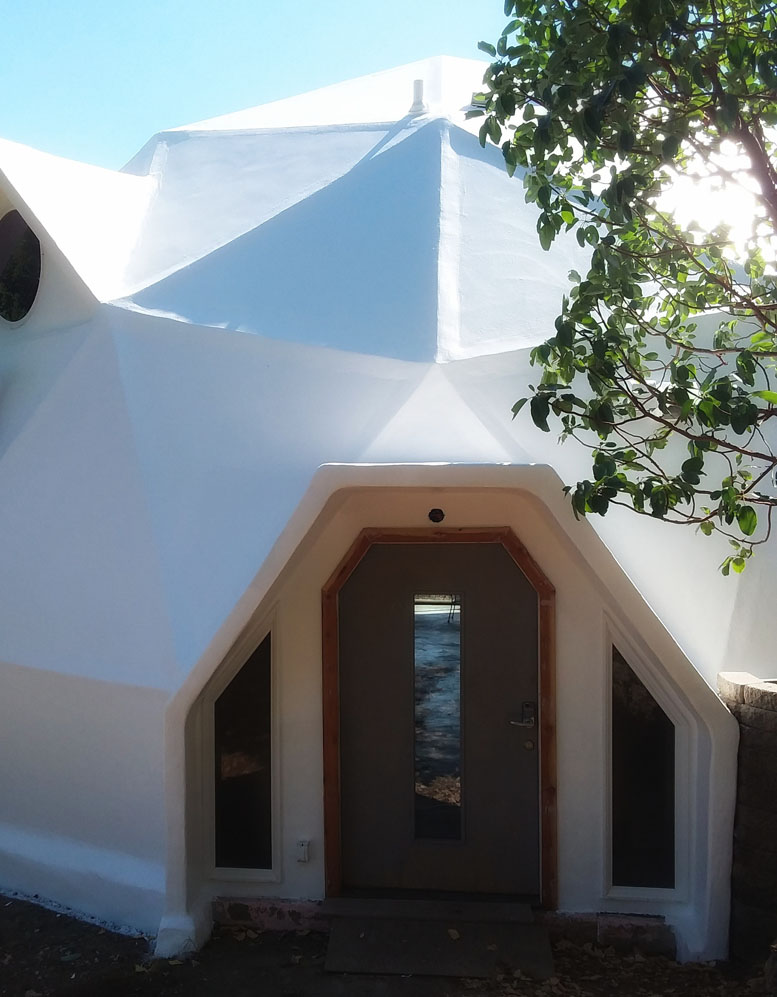
The White Dome
